Articles
Portray Sketches
While studying the portrait drawing it is very useful to make short sketches (from 1 to 10 minutes), extended drafts (20-30 minutes) and short drawings (2-3 hours) of the head in different angles in addition to long drawings (which last from 6 to 18 hours and sometimes even more).
The advantage of all rapidly executed drawings is that they give the possibility to make a lot of sketches from different angles in short period of time. Doing this, students may significantly extend their knowledge of the proportions of the head, the character of its form and the construction of it. In other words if an artist is constantly practicing the portray sketches of different people in different angles simultaneously with doing extended drawings, his or her works become expressive and realistic very soon. On the contrary, if a painter concentrates only on long drawings in traditional angles and forgets to make sketches, the conception of portrait may remain unclear for him or her quiet long.
Hasty sketches (from 1 to 10 minutes) help us to obtain an ability to catch the proportions rapidly. Meanwhile, short drawings (made within 2 or 3 hours) enable us to understand the construction of the head and convey the entire tonal relations.
Extended sketches (from 20 to 30 minutes) are a kind of universal exercises. In one hand, they take relatively short period of time. As a result during two or three hour session it is possible to make a lot of sketches of different people from different angles. For instance, all students may sit in turn. In other hand a painter has enough time for trying to scrutinise the structure and the form of the head which is not possible
while doing hasty sketches.
The time periods mentioned here are fair for those who already have some experience in portrait drawing. If you have never drawn a person, double it.
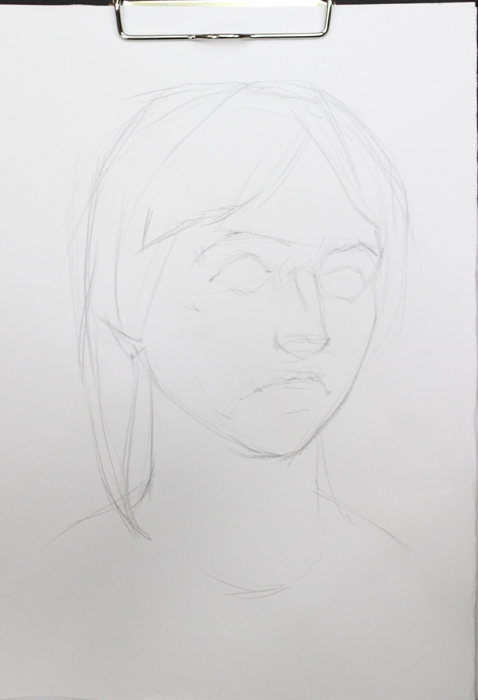
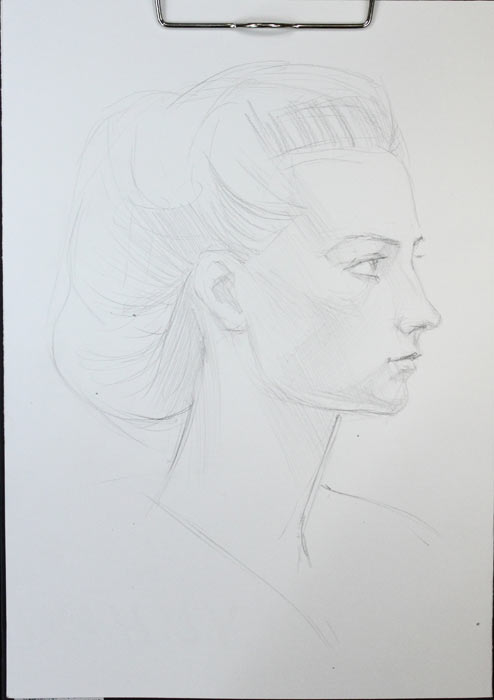
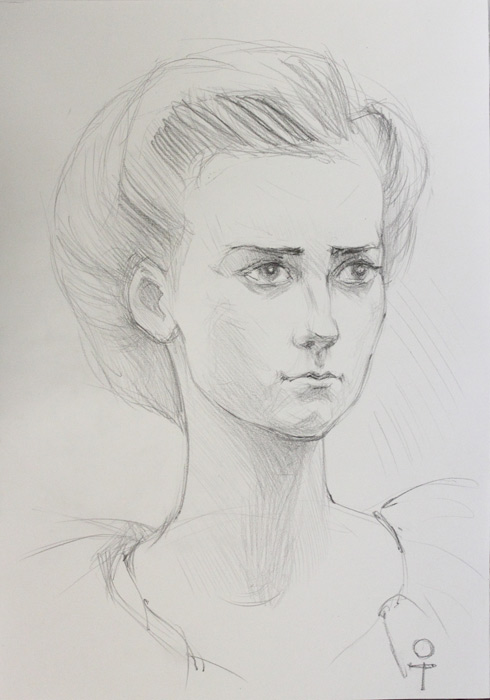
So, let us consider the stages of portrait sketches executed within 20 or 30 minutes. Just as any other drawing, we start the draft with the delineation of the composition. What you need to do is to catch the entire form of the head (from this concrete point of view) and imagine how you will place it on your paper. Keep watching at the model and delineate first lines.
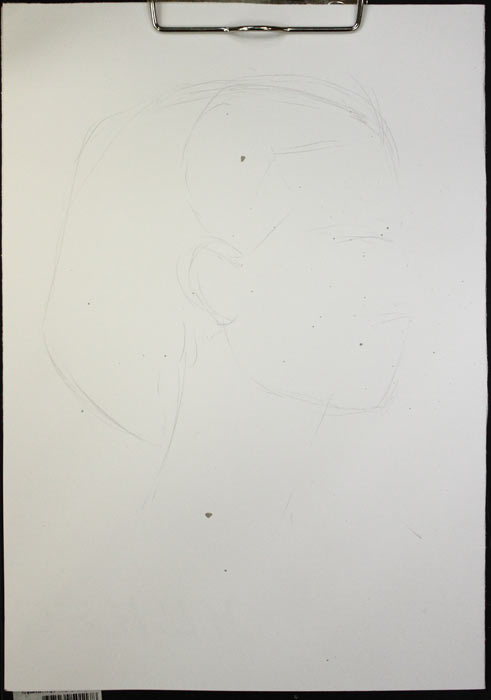
It is preferable to start the drawing with subtle lines; there is no need of strong pressure to the pencil. It is needed to be considered, that some of pictures which illustrate this article are made more in contrast in order to make them more explicit. In real life they are lighter.
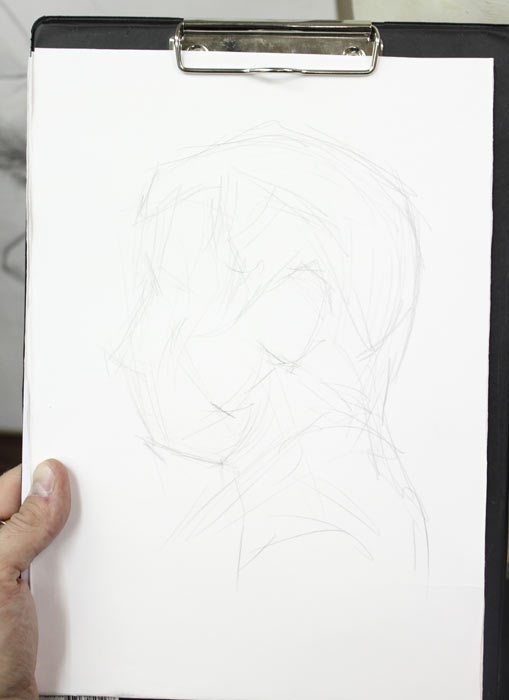
Delineate the main lines which form the entire silhouette and right away add big details.
Using these first lines we should try to convey the main proportions of the head and of its parts.
At the same time it is important to avoid the most common mistake when a face becomes too big in comparison with the rest of the head. As a rule it happens when an inexperienced artist starts the drawing from the face and concentrates on it all the time forgetting about other parts. Meantime, it is known that if you observe one detail too long and try to work it out before taking the entire proportions, it becomes bigger than in real life.
According to the classical proportions the internal angle of an eye is located in the middle of the height of the head. In other words the distance between the edge of a chin and the middle of an eye equals the distance between the middle of an eye and a crown. But that is what the tradition says. In real life people are obviously quiet different. In addition to the hair might be voluminous or not. The relations between parts also depend on the position of the head. If it is thrown back, the upper part looks smaller than the rest of it. If, on the contrary, the head is tilted forward, upper part seems to be bigger. It is crucial to catch these proportions correctly. That is the reason to take the main proportions from the very beginning.
When all relations are taken by eye, you may check it measuring one or two big ones.
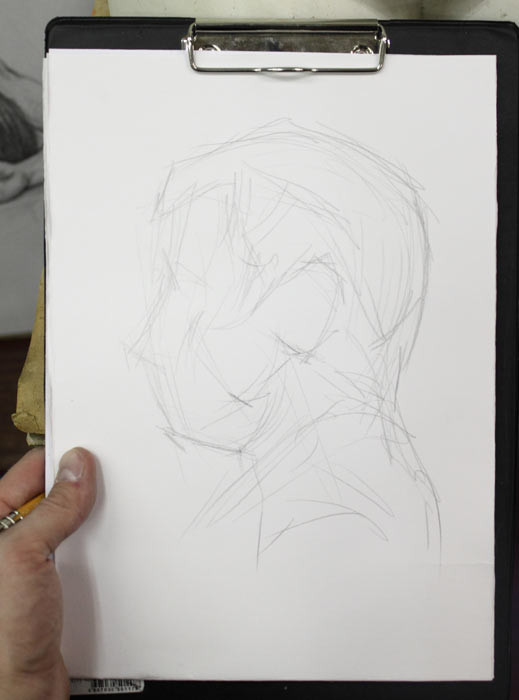
Delineating the silhouette and the details we try to catch the directions of lines. First of all we need to convey big directions, and only afterwards – small details.
Thereby, we pay attention to the architectonic of the form of the head. It means that we mention all breaks of the form and try to emphasize them.
Step by step, on a base of correctly taken proportions, you may make your drawing more concrete.
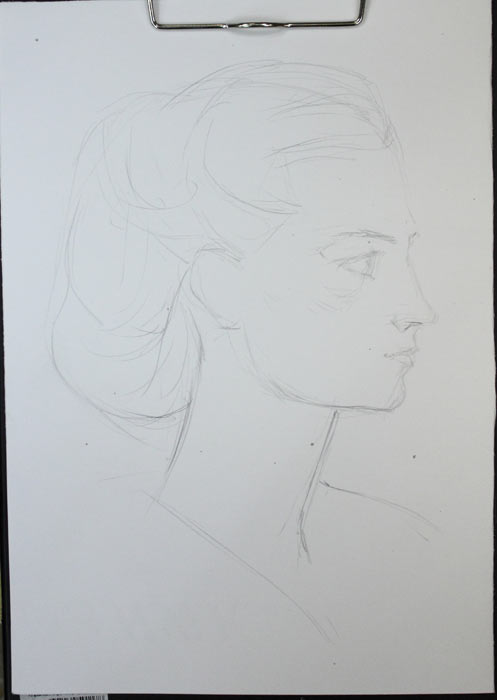
However, adding more details, we keep checking big proportions and the directions of the main lines.
And, as always, while sketching, the lines should not be indifferent. At the beginning you need to pay attention to this. Later it will become a good habit.
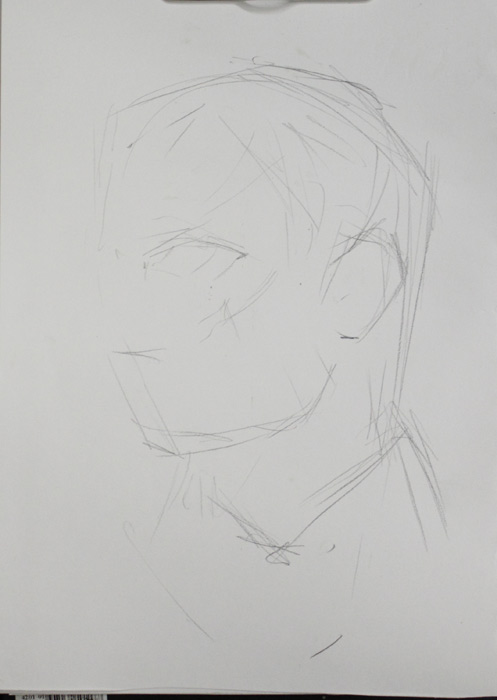
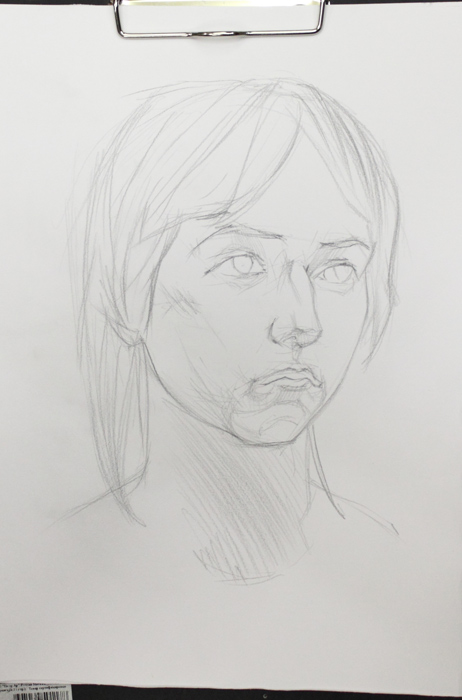
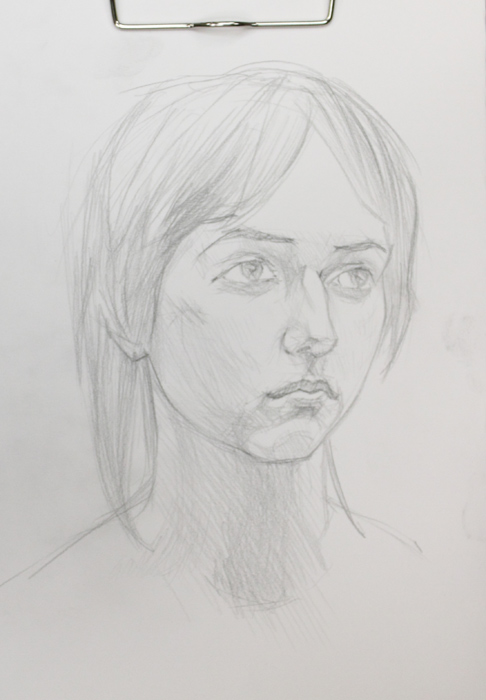
At the same time, as you can see, the slight shading appears.
However we add it in order to show volume and the shape of the head. It means that we draw it where the form changes its direction and turns. Try to not just make it darker but use the strokes in order to shape the form. The lines should be expressive and emotional.
As long as we started the drawing with slight lines the eraser is not needed. More precise lines are made more sick while first ones do not interrupt the entire impression.
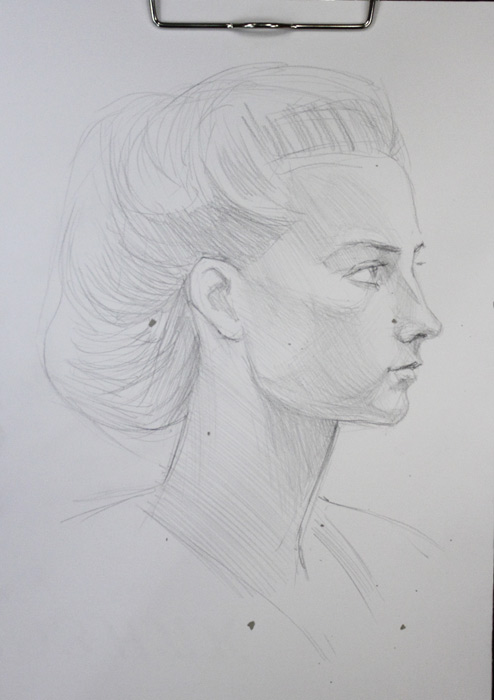
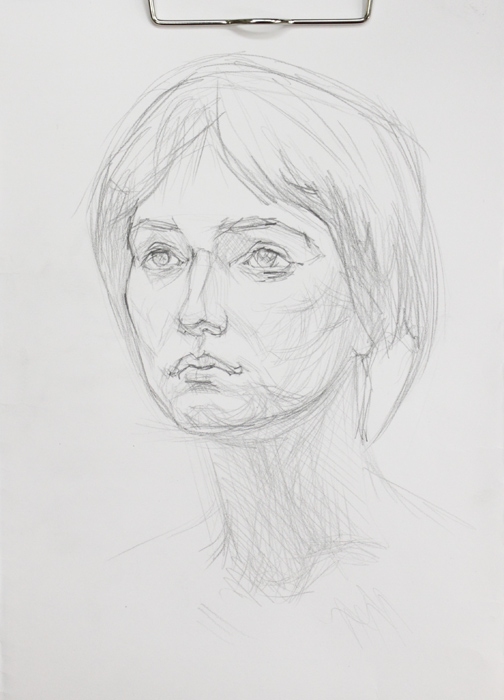
The sketch is about to be finished. Make small details more correct. If you still have time you also may add more shading.

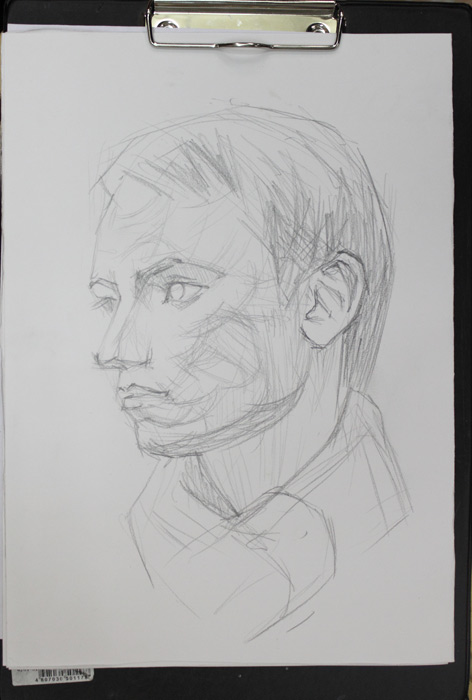
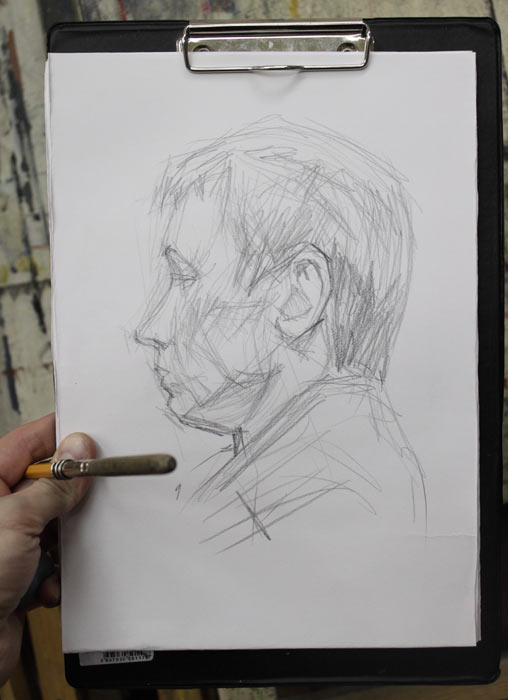
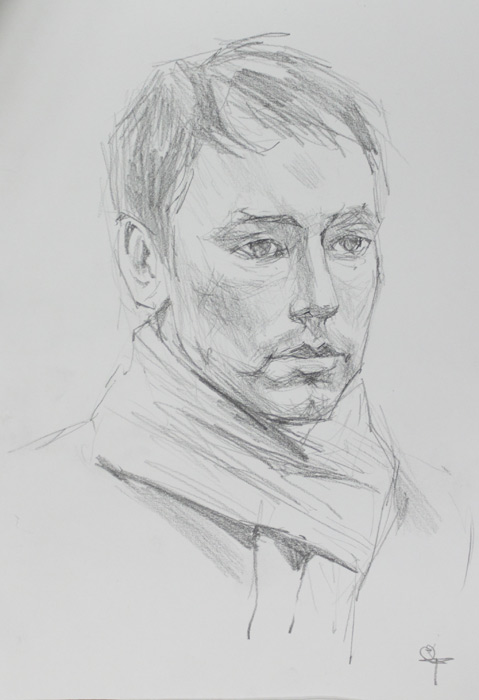
The detailed sketches should be made systematically, from different people in different angles.
At the same time you may alternate linear sketches with tonal ones, as you may see at the pictures. This way you will develop the ability to work with lines as well as with tone.

The method which is considered here is the most efficient and comfortable one to my mind. However all these recommendations are just the result of my personal experience and do not pretend to be the only possible ones. What is really important to understand is that the only way to study the portrait drawing is to practice life drawing frequently. As it was said by Great Painters “The nature – is your best teacher”