Articles
Study Portrait in Pencil – The Portrait of Woman in Headscarf
Let us consider the stages of drawing study portrait once more.
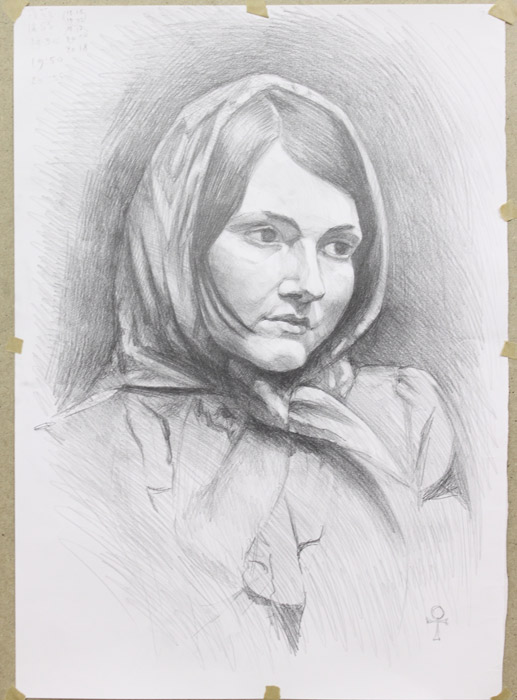
In that particular situation the emphasis is made on tonal relations. Outlining the shape is done hasty. For variety’s sake a headscarf is put on the model.
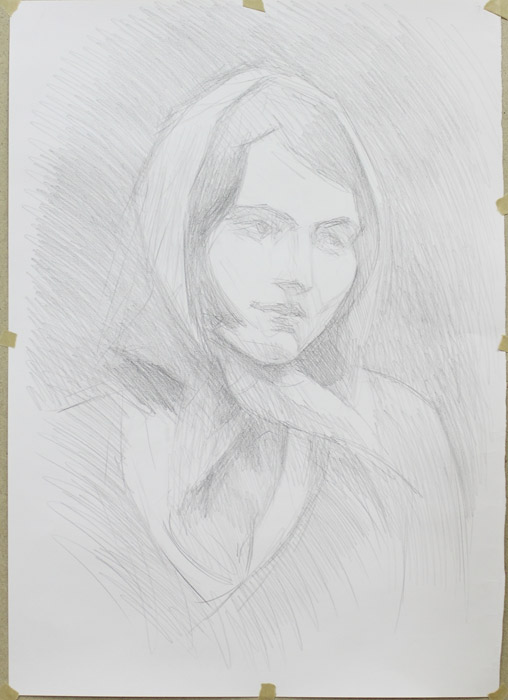
First day. The light source is placed above and in front of the model. The sitter should choose a comfortable pose. It is crucial to make sure that the position of the sitter remains the same up to the end of the work.
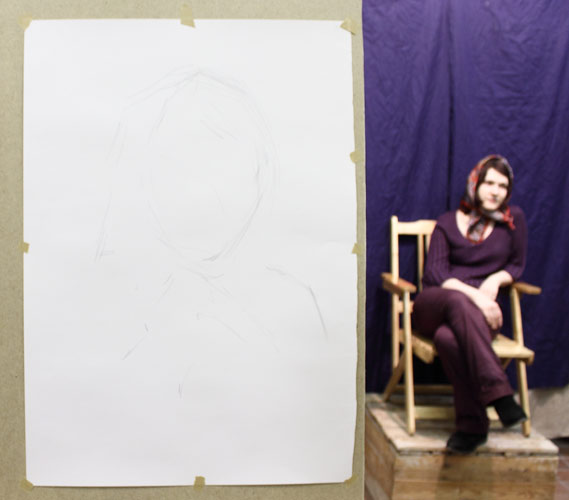
Start drawing putting light lines, there is no need of strong pressure to the pencil. First of all delineate the composition, which must be found correctly from the very first steps. That basically means that proportions and the nature of the model are supposed to be faithful.
Otherwise father changes and elaborations may modify the previous organization significantly.
Anyways, if painter from the very beginning decides what is the most important, (where is the centre), slight alterations will not spoil the composition.
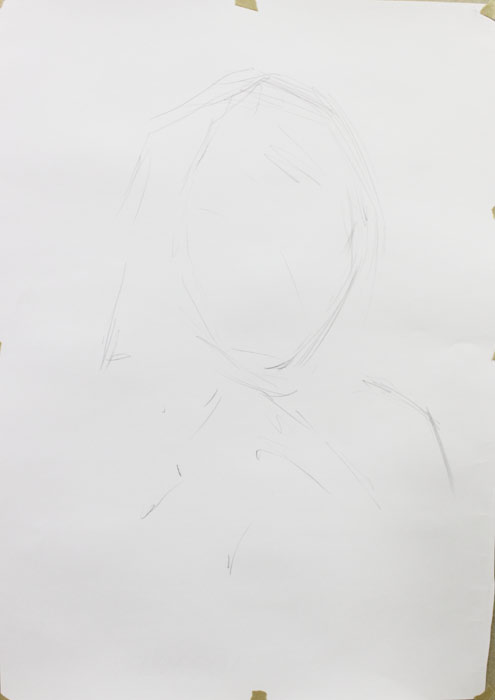
Disposing the main parts, it is important to not forget, that WE DO NOT DRAW DETAILS AS SUCH, BUT WE DRAW DETAILS IN ORDER TO FORM THE ENSEMBLE. In real life that means looking at the model and at the picture entirely, trying to take the main proportions of the head as correctly, as it possible.
Almost right away we distribute shading evenly upon the drawing. To add strokes upon all over the picture we should make it quiet light. Later it will be darken moderately.
When the main characteristic proportions have been measured by eye, it would be not out of place to size them, beginning with the biggest ones.
Also, put a pencil horizontally and vertically to the model and to the picture to check if the inclination is taken properly.
Why should you first evaluate the situation by eye, and only afterwards size everything? The reason is to give your mind the chance to develop the ability to measure things. Gradually it will make good progress.
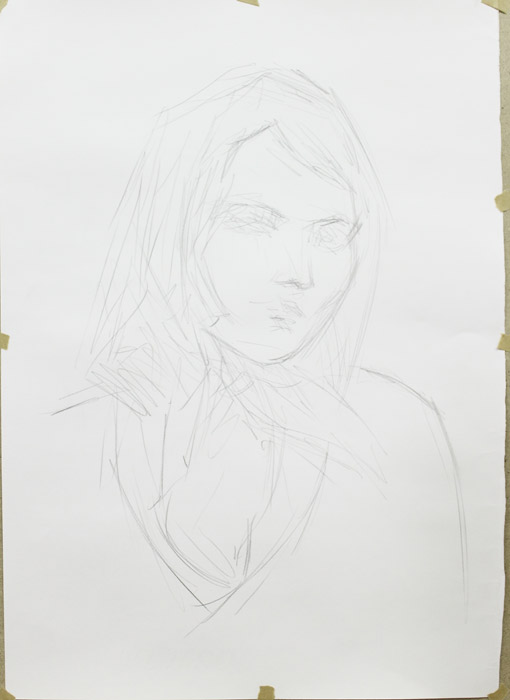
Step by step make the character and the location of main parts more precise. We should catch the most characteristic features in every area, not working on small details too long.
Moderately the gradations between light and shade become more various. We use that to check the relations between main parts and its shape.
Everything located closer to us should be done more contrast, while the areas disposed further should remain softer and lower contrast.
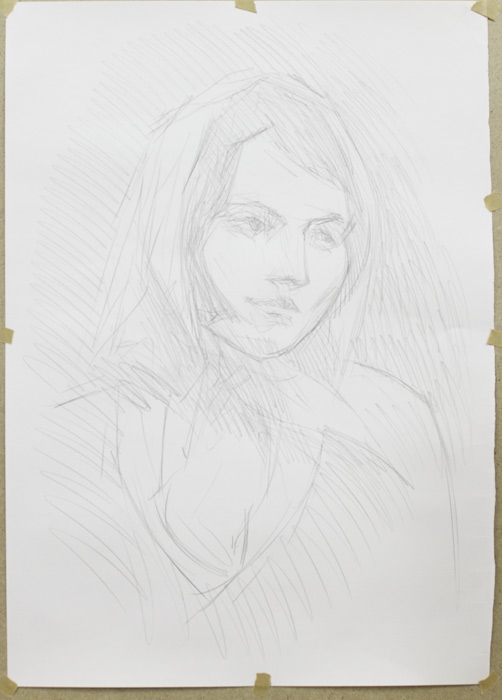
Moderately the chiaroscuro becomes more real.
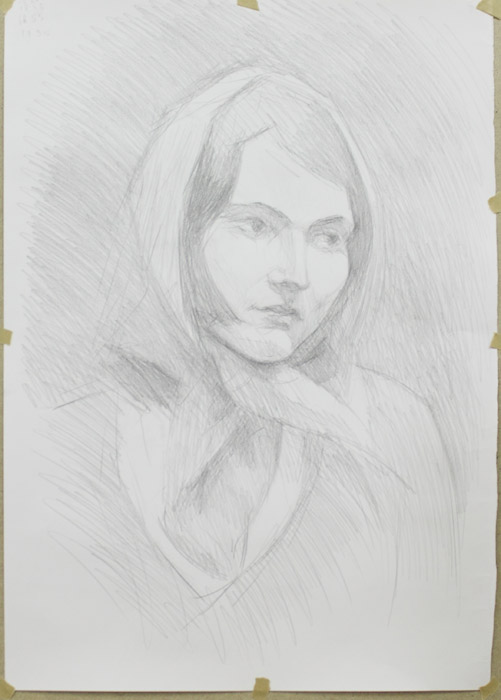
To take the tonal relations more correct we should often look at the drawing and at the model with defocused eyes. We also continue to alter the outline, the location of parts etc.
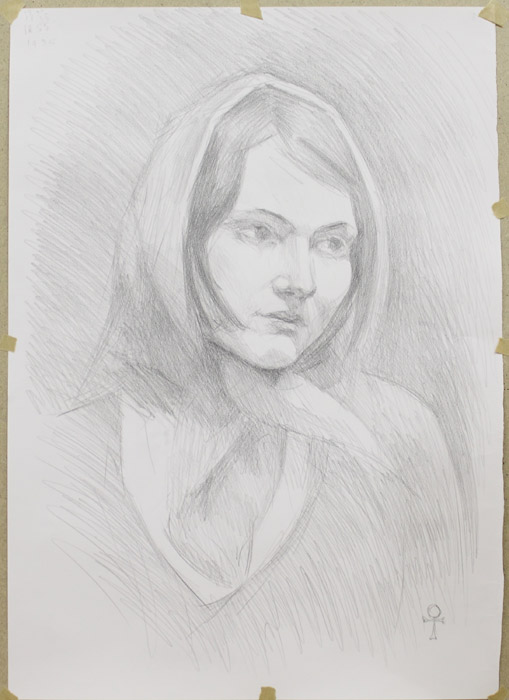
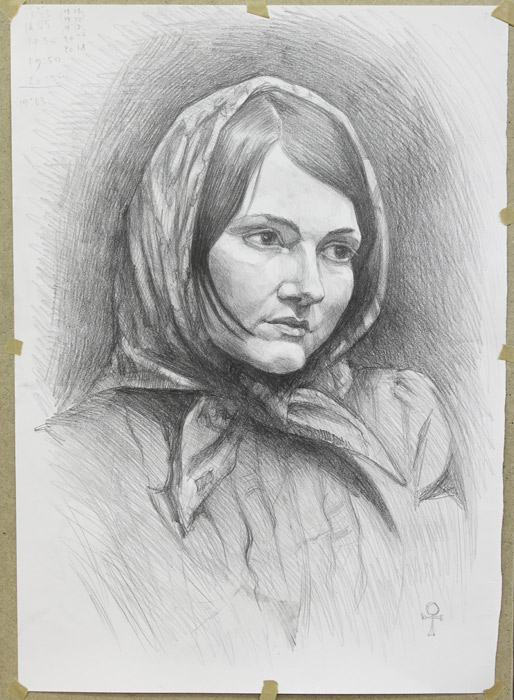
Second day. As long as your look at the drawing is fresh, check the proportions, the details, and the outline. It is better to make all alterations observing your picture at the distance. You should look at the whole picture not paying attention to every single detail. Turn your defocused gaze from the portrait to the model and back to the portrait. All parts disposed incorrectly will be easily identified. If everything is on its place – look at the entire chiaroscuro. Turn your defocused gaze from the picture to the sitter and back to the sitter to check the tonal relations. Meantime the contrast becomes higher we work out the details. At the same time small elements should not spoil the entire impression.
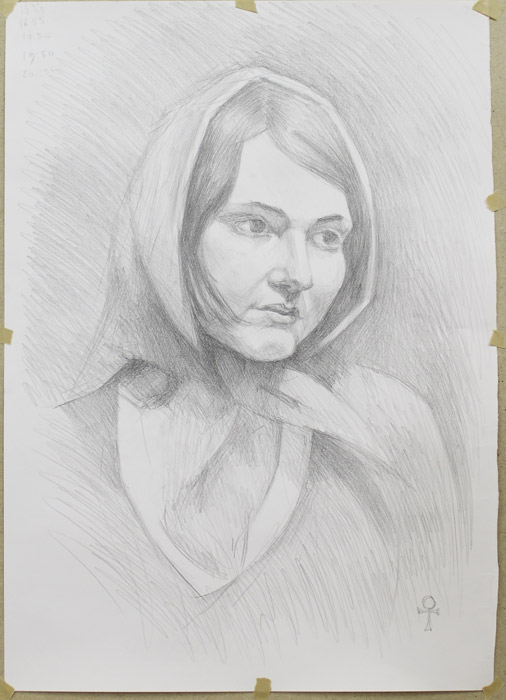
Third day. As long as you are able to have a fresh look at your work – check everything. Observe the drawing at a distance often. Make tonal relations deeper and decide when you should consider the picture as finished. Never forget that all decisions should be taken at a distance.
Oleg Toropygin