Articles
Study Portrait With The Light Source Placed In front And Above The Model
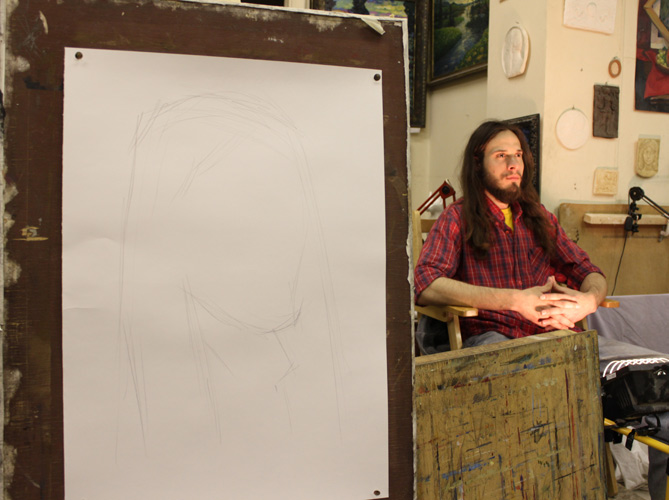
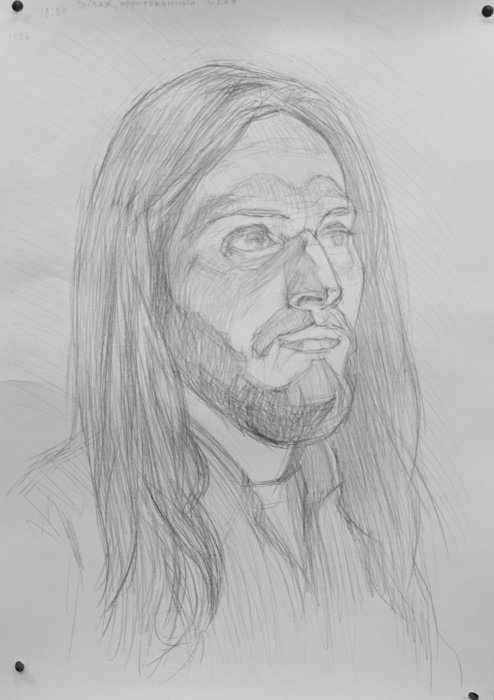
Let us consider the stages of drawing the study portrait with the light source placed in front and above the model.
If your student suggests you to illuminate the face of the portrayed person from above while you are thinking about the most interesting way of placing the light source, do not be prejudiced. It is possible that your students, as well as you, have never drawn anyone with that kind of light, which actually means, that you may have a chance to obtain an unusual experience.
As usual we start drawing with subtle lines and do not applying too much pressure to the pencil. As usual first of all we delineate the composition on the paper.
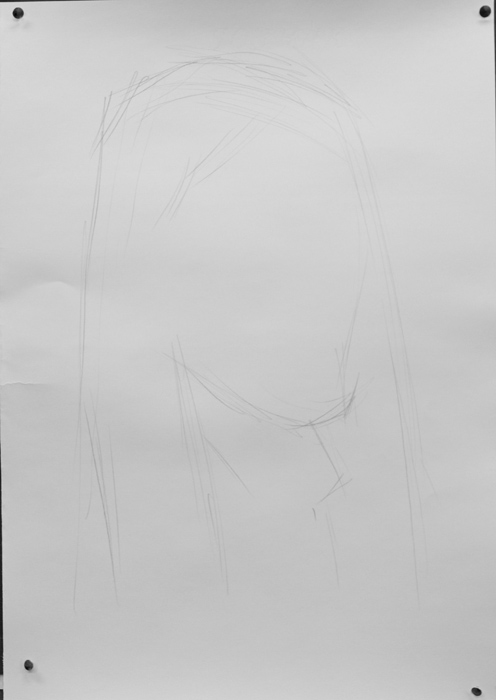
While disposing the main parts, it is important to not forget, that WE DO NOT DRAW DETAILS AS SUCH, BUT WE DRAW DETAILS IN ORDER TO FORM THE ENSEMBLE. In real life that means looking at the model and at the picture entirely, trying to take the main proportions of the head as correctly, as it possible.
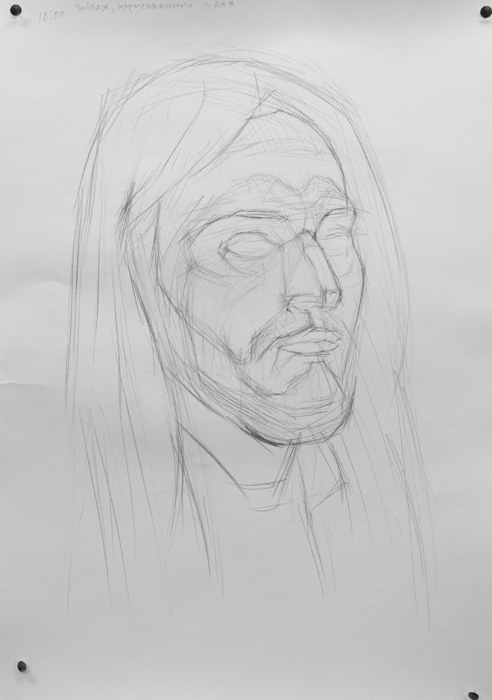
The light placed above enables us to observe the architectonic of the face more evidently. Moreover it helps you to look at face in a new way. To show the shape of the head we use subtle shading. We should catch the most characteristic features in every area, not working on small details too long.
Moderately the gradations between light and shade become more various. We use that to check the relations between main parts and its shape.
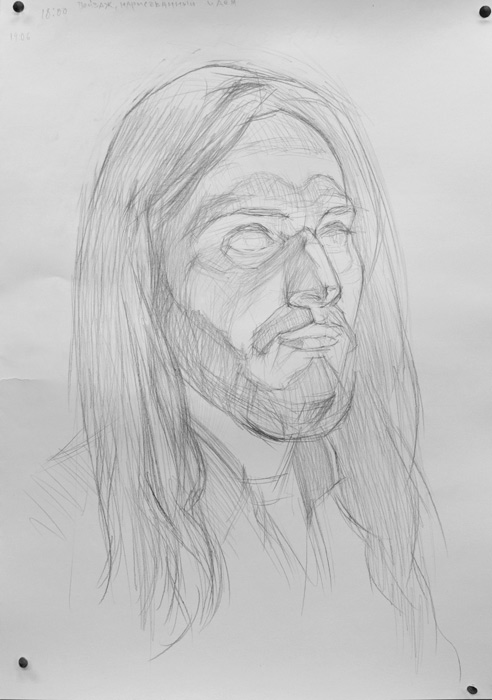
Everything located closer to us should be done more contrast, while the areas disposed further should remain softer and lower contrast.
.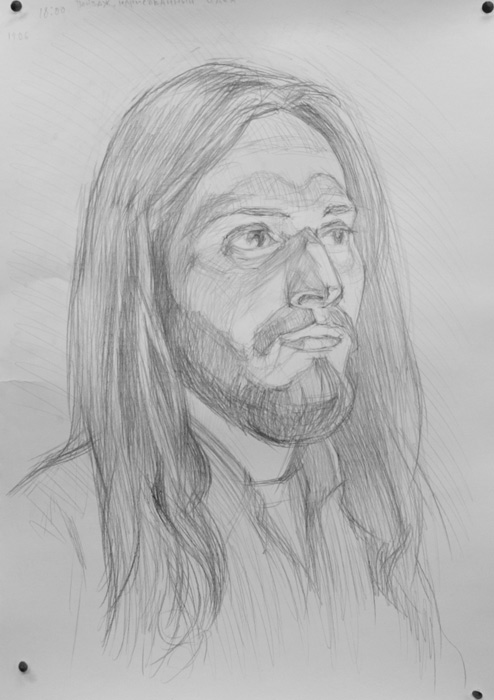
To take the tonal relations more correct we should often look at the drawing and at the model with defocused eyes. Moderately the chiaroscuro becomes more real
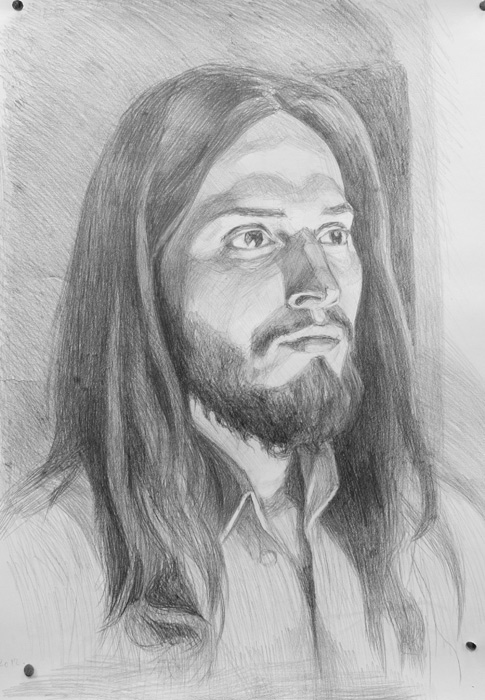
Make tonal relations deeper and decide when you should consider the picture as finished.

Oleg Toropygin