Articles
Study Drawing of The Male Figure Standing with Most of Its Weight on One Foot
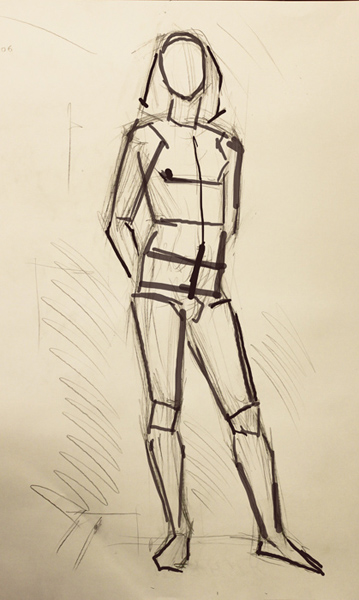
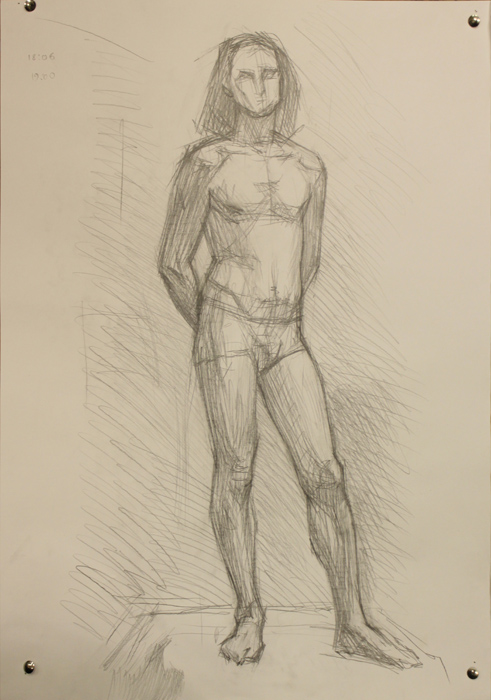
It is better to start practicing life drawing with the portraits of models standing with most of the weight on one foot. This pose is also called “contrapposto”. Let’s try to consider possible stages of making that picture. First step for convenience might be called “Composition on the list”. In any case everything you are going to depict needs to be somehow disposed on the paper. It is preferable to make the arrangement balanced and hormonious. It means that you need to capture the dinamic of the entire body and imagine how it will be layout on the list. Draw with slight lines, do not apply too much pressure to the pencil.
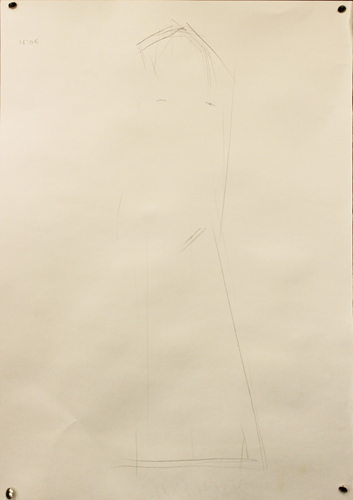
At the same time from the very beginning you should catch the proportions and the locationы of parts correctly. This is especially important due to the fact, that a good composition may be easily become discordant when all alterations with proportions are done. To develop your ability to measure by eye and catch the main relations faithfully you should regularly make sketches. One sketch may take from a few seconds to five or ten minutes.
The main proportions an artist should pay attention to are the following:
-
The pubis (pubic bone) is at mid-height of the figure
-
An average person is 7 or 8 heads tall
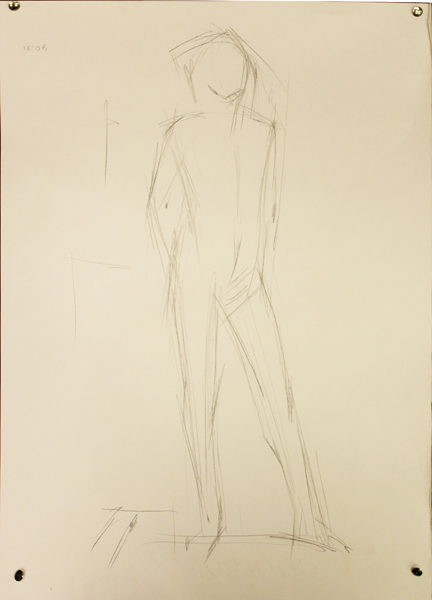
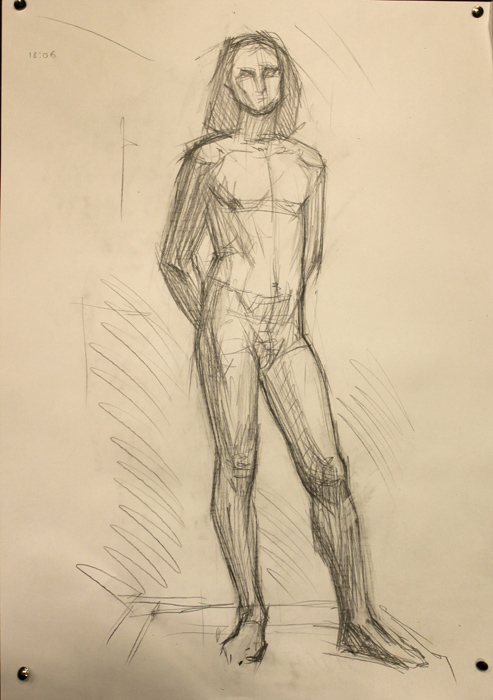
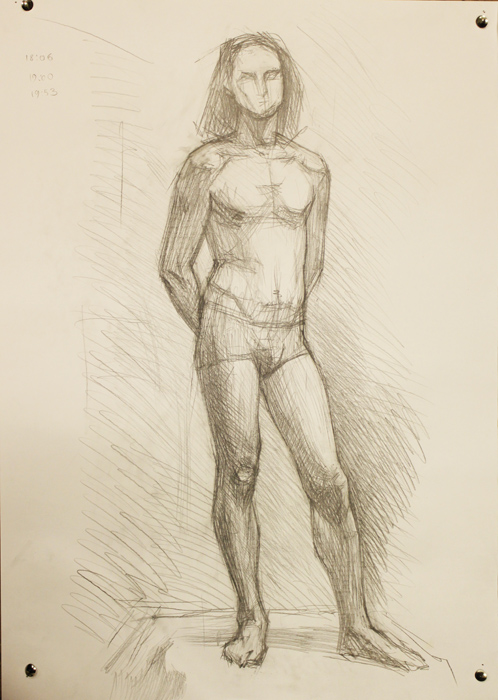
Long (from 10 to 30 minutes) sketches are also really useful in order to study the anatomy of human body. From the very beginning the main structure of the figure should be taken, simultaneously with capturing the proportions.
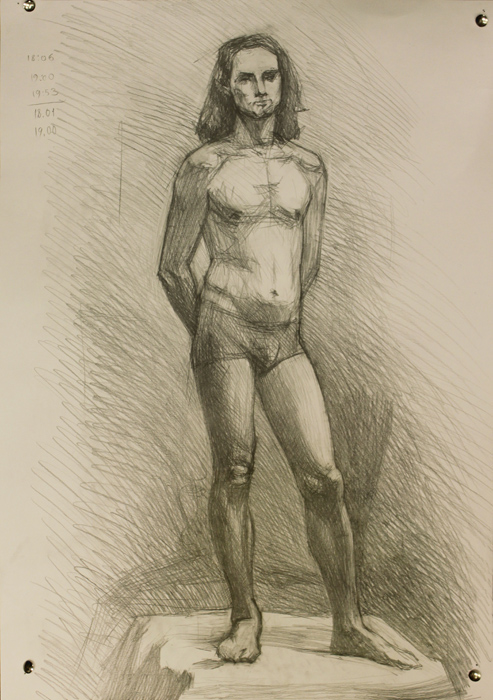
If the model poses in contrapposto, you should pay attention to the fact that its supporting leg is tilted, so the foot of engaged leg is placed under the center of gravity. According to classical tradition the figure is well-balanced if the imaginary vertical line may be dropped from the centre of the neck to the internal side of the ball of foot. However in real life most of people get tired soon and start slightly shift the weight to the other leg. Not suspecting that, an artist is going to alter the drawing on and on, wondering what is wrong. Due to this that kind of things should be taken fast.
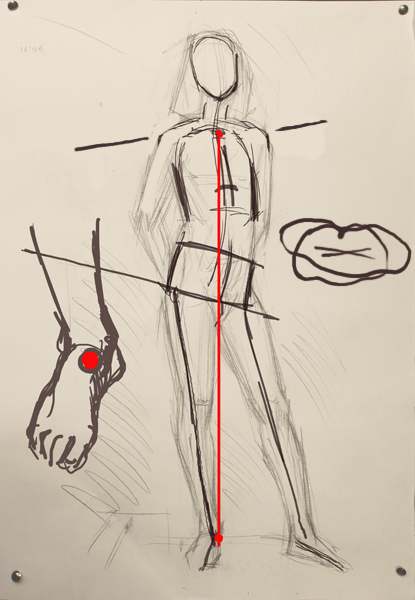
In addition to, the position of tilted pelvis and chest should be taken right away. That standing when the figure’s hips and shoulders rest at opposite angles is actually called contrapposto (counterpose). The pelvis goes down from the side of the resting leg while shoulder of that side goes up. At the same time there is a horisontal twist: the shoulder which is placed above supporting leg slightly goes backwards, while another one – slightly forward. The entire impression which gives the body in that position is harmonious and “musical”. Due to this since the creation of contrapposto in fifth century BC it became an essential part of Ancient Greec Art, and then of Gothic Art, Renaissance and Modernism.
Basically, our body stands in this pose countless times per day. However it happens as a part of our movements and we do not notice it. A learner artist should pay attention to his or her own motions, as well as to the motions of other people. The structure of figure is connected with the characteristic shape of the parts of our body. In order to obtain an ability to capture them correctly and expressively it is usefull to simplify the complicated structures to the clear geometrical figures with an implicit silhouette.
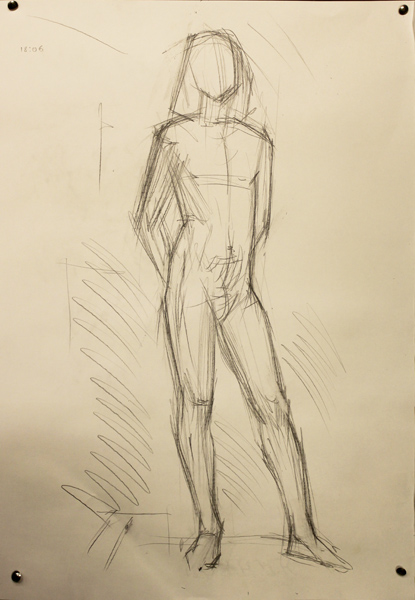
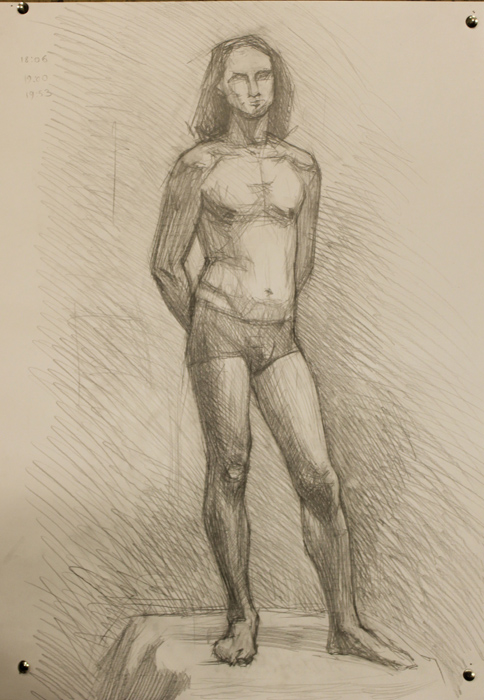
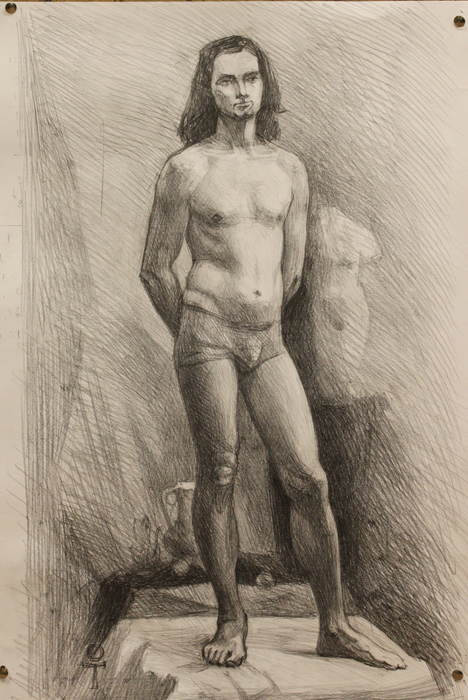
It is convenient to add slight shading right away on a stage of outlining the structure to form three-dimensional space. The following picture at the right obviously shows the character of the forms of the figure’s parts.
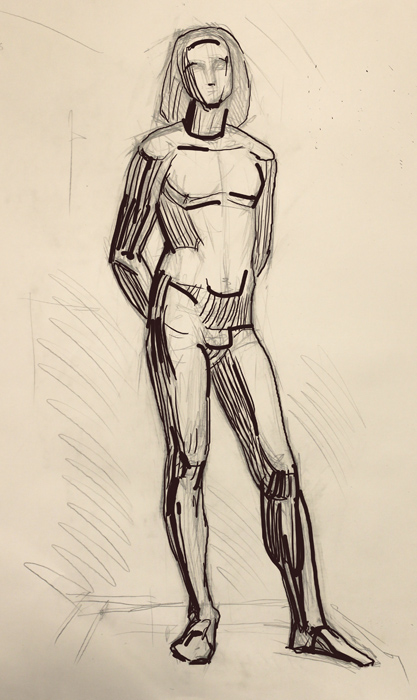
It is crucial to mind the entire impression of the drawing while adding slight shading, forming characteristic volumes, delineating big parts. We should never forget to check the main proportions and the locations of parts.
Thereby, we should always keep in mind that we do not draw details as such but we draw details in order to form the ensemble.
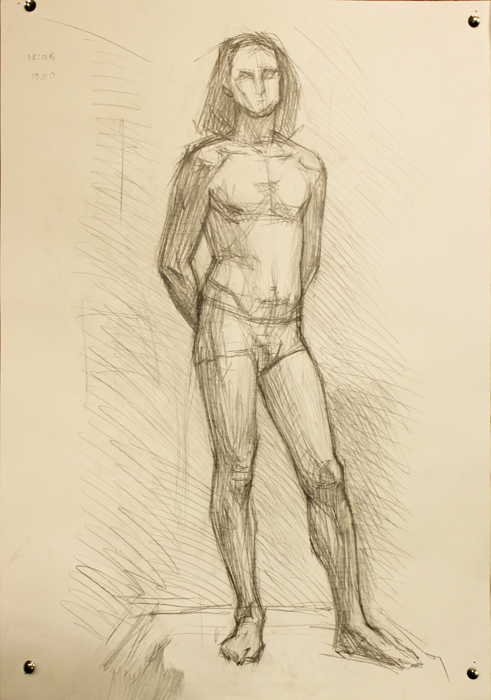
Remember, that all drawings used to illustrate this article are done more contrast than in real life, excluding last ones. It is done in order to make them more clear and obvious. However, it is more reasonable to make all shadings slight at the beginning. The following picture gives the impression of the real chiaroscuro.
Moderately make the details more precise and darken shades.
At the same time we do not work out too long small elements, but develop the entire drawing.
Gradually the image becomes more real.
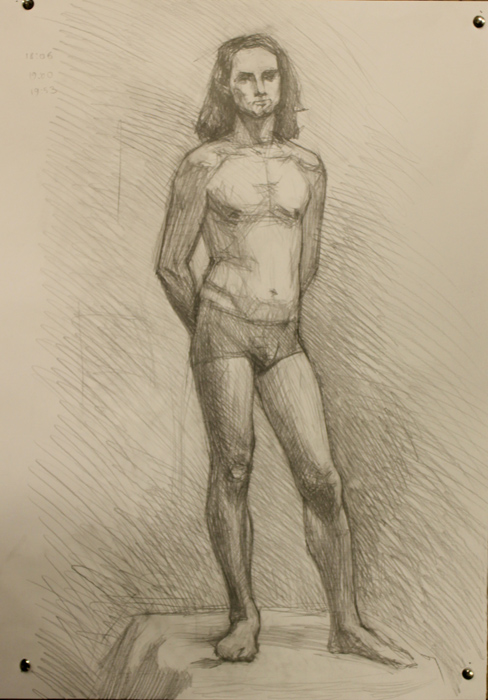
It is preferable to mind the entire ensemble all the time. In this case the work may be considered as complete in any stage.
If you want you may alter it on and on making the relations between shade and light more and more concrete.
Of course, it is not all useful information about life drawing.
Oleg Toropygin