Articles
Sculpting of a Male Figure
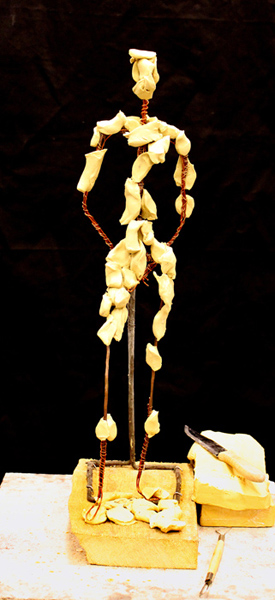
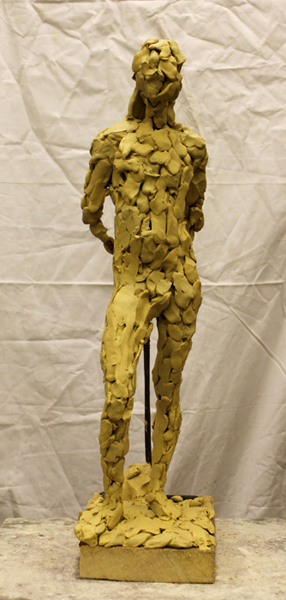
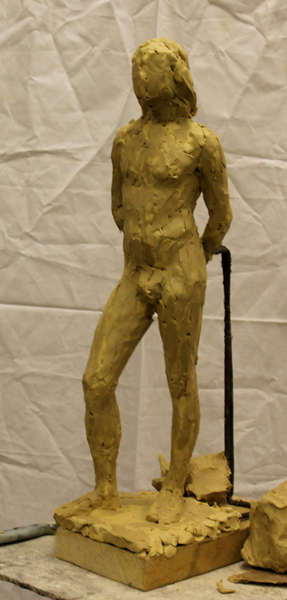
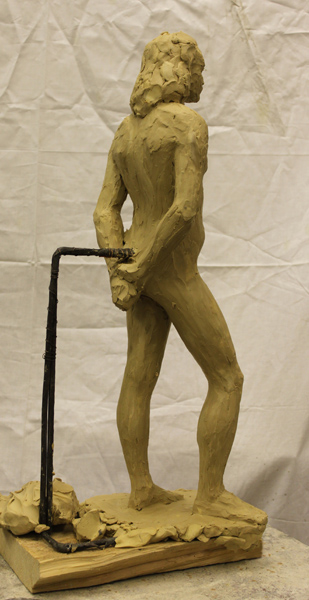
Here we will make the main points of sculpting a figure. At the first photos we may see the place where the armature and the armature stand are joined. That place is the centre of the sculpture. Thereby the figure in fact does not stand on its legs but is held on the armature. That enables to change and to correct the position of legs during the work.
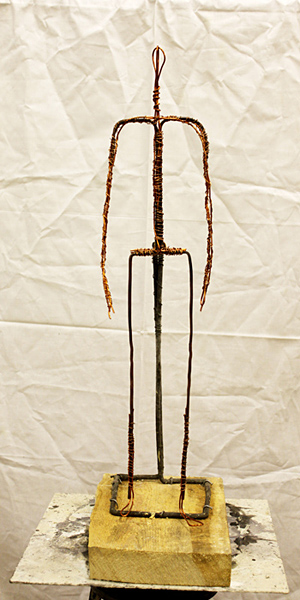
The height of the figure is about 50 sm, while the height of the armature stand is approximately 25 sm. The stand is made of double black annealed wire. It is preferable to make the stand stable and reliable. The important thing is to avoid shaking of the stand while sculpting.
For the figures from 70 to 80 sm the stands are made of welded pipe.
The armature is made of cooper wire 3 mm in diameter. Two pieces of wire are used to form two halves of the body (leg-torso-arm) + a piece for a head which is joined with torso. Additionally the armature is strengthened by adding cross-wires.
The armature should be stable enough and do not shiver under the pressure of clay or plasticine. At the same time the wire needs to be flexible enough and easily be bent during the work.
Before starting it is necessary to make sure that the sculpting stand is strictly vertical (and the base placed strictly horizontally) and the armature does not incline to the right neither to the left while rotating the base.
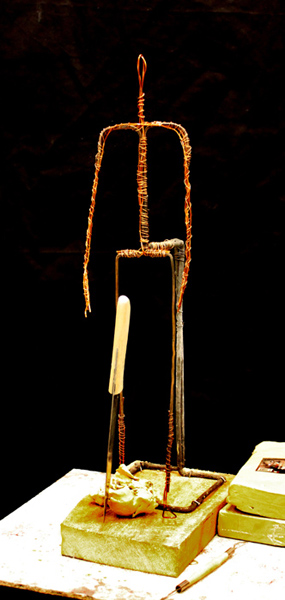
At the beginning it is needed to give the characteristic motion of the future figure to the armature.
In the case when we use a model while sculpting it is essential to catch the characteristic pose of the person. The armature must convey this pose from different viewing angles. To check the resemblance of the pose rotate the sculpting base and check it from different locations.
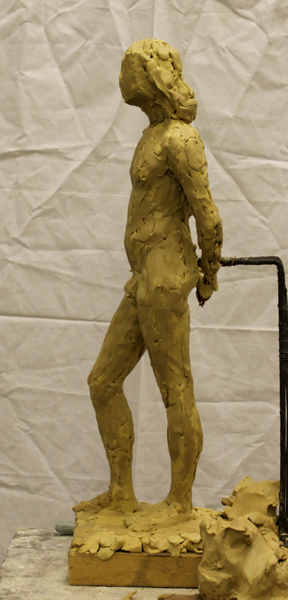
You should look at the model and at your armature from eight different views (en face, two profiles and from the backside + four three-quarter views).
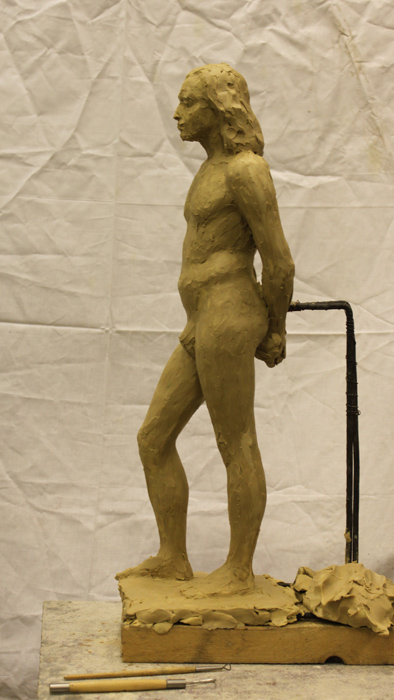
In this case we consider the sculpting of the figure standing with the most of its weight on one foot. This pose is also called “contrapposto”
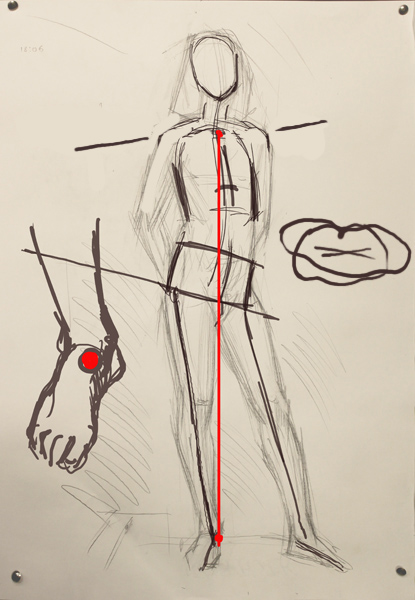
Let’s now talk about the characteristic features of contrapposto: the engaged leg is tilted under the body.
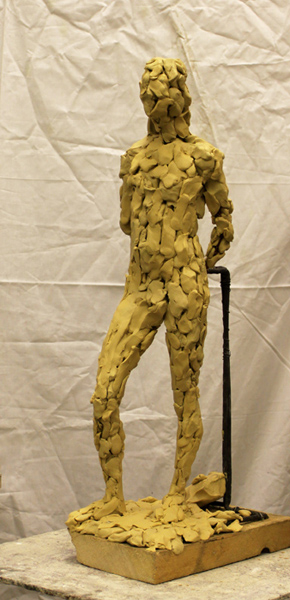
According to classical tradition the imaginary vertical line may be dropped from the centre of the neck to the internal side of the supporting leg foot. Another straight line may be drawn from seventh jugular vertebra to the hill of the engaged leg.
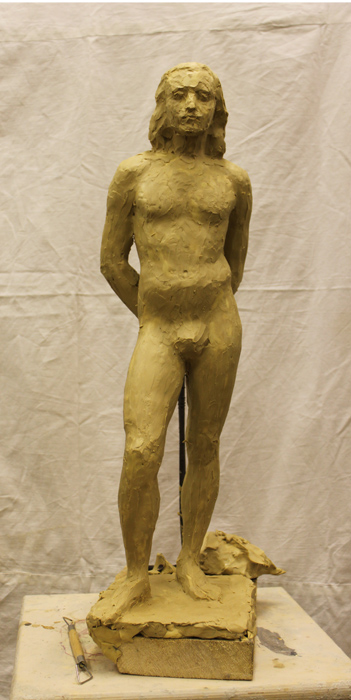
The pelvis goes down at the side of the resting leg while shoulder of that side goes up. At the same time hip of the supporting leg goes slightly forward and the shoulder above this hip slightly backwards. Meanwhile the hip of the resting leg goes backwards and the shoulder above that hip goes forward.
This position is one of the most expressive and harmonious. Usualy we do not pay attention to this, but our body stands in this pose countless times per day. The problem is that model needs to keep this pose long time, which is not easy. People normally get tired soon and start slightly shift the weight to the other leg. Due to this fact you should work faster and remember about all mentioned features while sculpting and catch them.
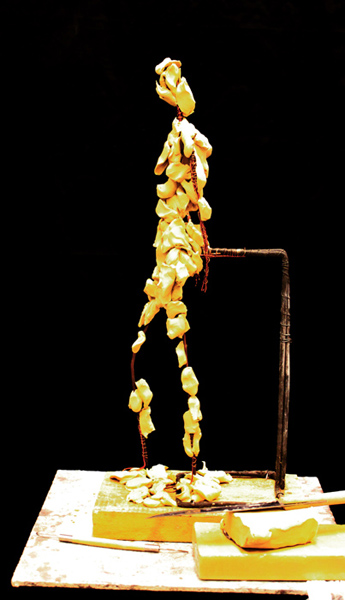
As soon as the armature is more or less done we start sculpting, altering the position of the armature.
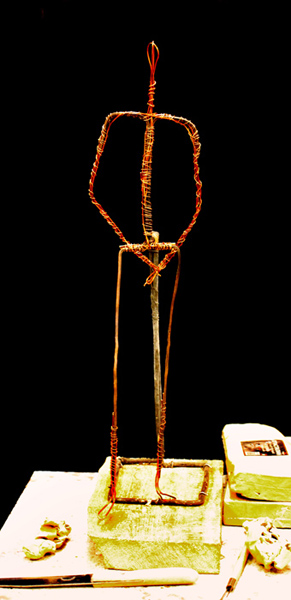
Fix legs in a correct position. They should not dangle. Look at the main proportions and at the motion of THE ENTIRE FIGURE.
You should never concentrate on sculpting from one angle. And especially at the beginning you need to completely avoid making one side of the sculpture too detailed at the cost of others. It is crucial to compare the solid figure all the time.
You may help yourself frequently rotating the platform with the model and your work.
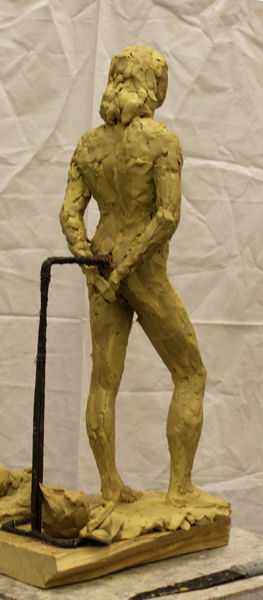
We have talked about the necessity to compare the proportions from eight different angles. However sometimes that is not possible, especially when you are working in a group with other students. At the same time it is highly preferable to make it possible for all participants to check the sculpture from four views (en face, from the backside and two profiles)
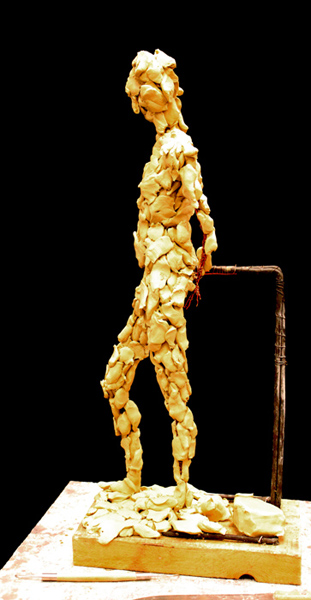
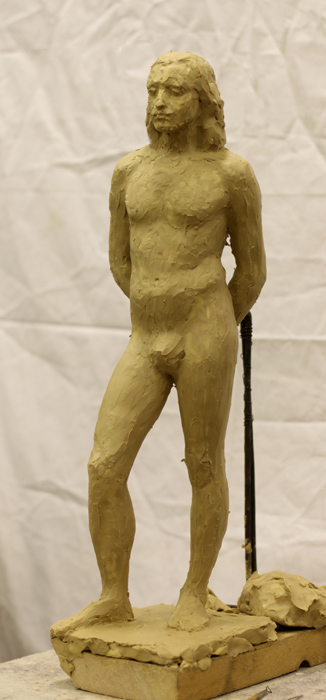
We keep correcting proportions and developing the whole figure at the same time. Also the character of big parts of the body becomes more precise.
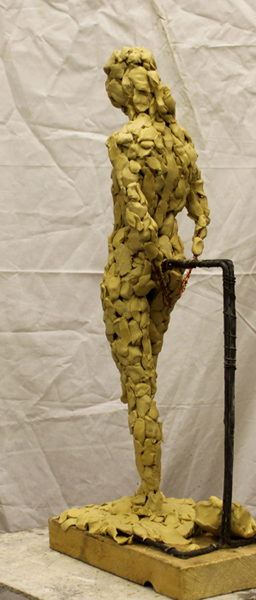
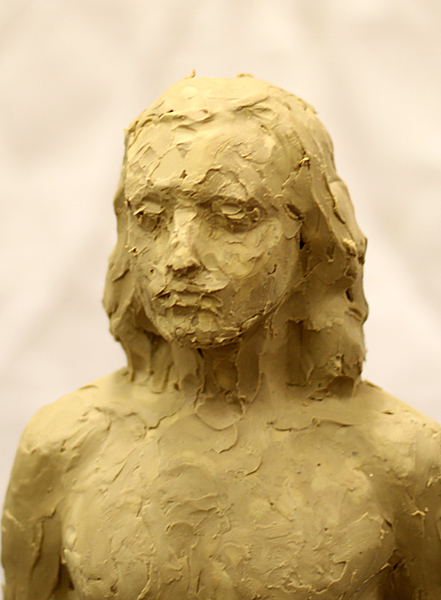
Gradually the figure is getting more detailed. That fact should help us to see and check big proportions, the motion and the character of the form better.

It is important to look and check the entire impression of your work at a distance, which should be as big as possible in your particular room. It is unreasonable to work out the details as long as big proportions are not taken correctly.
If you sculpt in a group, during breaks pay attention to the works of other students in order to adopt their strengths.
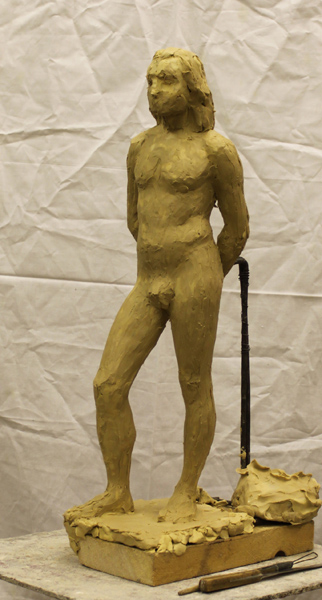
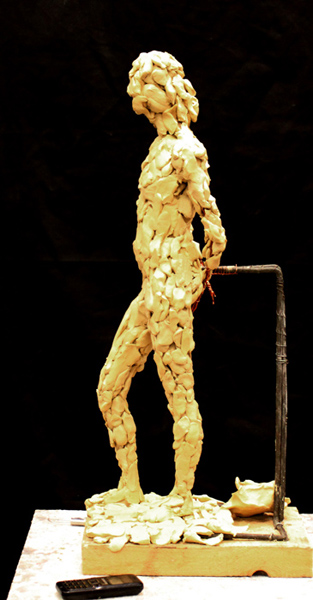
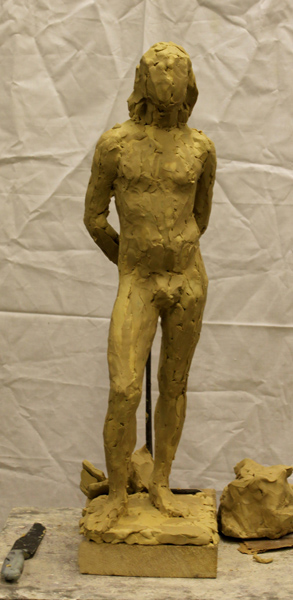
Step by step your figure becomes more detailed. When the main proportions are taken correctly inexperienced sculptors forget to check the entire impression. As a result unnecessary hard work and mistakes take place.

It is essential to realize, that the moment when we can stop compare the main relations of the solid work never comes. This is true for all kinds of art works: sculpture, drawing etc and it is so up to the end of the work, not depending on how long it lasts.
At the moment when we finally start working out the details, we actually do not alter the details, but we add details in order to form the entire ensemble.
 \
\
Oleg Toropygin